Removing shelf clips can seem hard and sometimes confusing, but it is simpler than you would think. Although shelf clips look complicated, most of the time they are super easy to remove and it will only take you a few seconds!
Steps To Removing Your Shelf Clip
Step 1:
Make sure your shelving is cleared of all products. Removing a clip from a fully stocked shelf can lead to disaster, so always make sure your shelving is clear.
Step 2:
Remove the actual shelf from your shelving unit. Very rarely will you need to remove the clip before removing your shelf, but certain brands do have clips that need to be removed before disassembling your shelving unit.
Step 3:
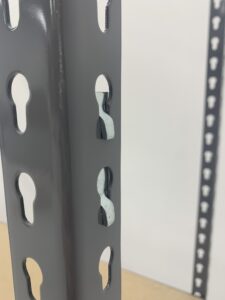
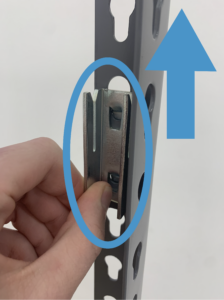
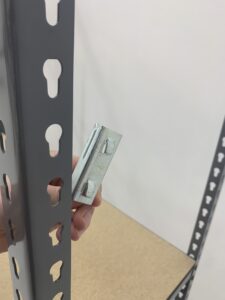
Remove the clips from the shelving unit. Some clips will come out easily when they need to be taken out. However, some clips may require some elbow grease or a rubber mallet to remove.
Two-piece clips often have bolts and screws that need to be undone, so make sure to unscrew and remove the bolt before trying to remove the clip.
Damaged shelf clips can also be a challenge to remove, depending on the type of damage sustained. If you’re having problems removing your clips, make sure to get in touch with the shelving manufacturer.
When Should You Replace Your Shelf Clip?
Typically clips will be reinstalled if you’re moving your shelving or if there is obvious damage on the clip. Shelf clips are usually heavy-duty, and on most shelving units, they are responsible for holding most of the weight.
If clips in the set are missing, whether new or used, they will need to be replaced. However, clips shouldn’t need to be replaced often. To ensure no replacements are required, always inspect clips and ensure the clips are secure, alongside shelving
Find Out What Kind of Clip You Have
Most shelving will come with clips that are the same brand as the shelf. However, if you are unsure of what kind of clip is being used, you can use our Shelf-Clip Identifier to help you find it! Still need help? Send us an email at [email protected]


